

Fix Seam Misalignment
If you sourcecustom baseball cap embroidered logo6 panel cotton hard frontfor your brand, you’ve likely faced the frustrating issue of embroidery shifting or warping across the front center seam. As of 2026, 62% of hard front cap e-commerce sellers report embroidery alignment errors as their top product return cause.
This guide breaks down factory-level stitching tricks to eliminate seam misalignment for good. Whether you’re a startup founder, small business owner, or custom headwear design studio, these actionable tips will cut your defect rate and boost customer satisfaction.
Why 6 Panel Hard Front Caps Get Embroidery Misalignment
The first step to fixing embroidery errors is understanding why they happen on structured caps specifically.
Material Tension Differences Across Seams
6 panel caps are stitched from 6 separate fabric panels, creating a raised center seam at the front. When embroidery thread passes over this seam, tension changes can pull the design off-center.
Washed cotton twill fabric shrinks unevenly after washing, shifting seam position by 1-2mm
Hard front buckram backing adds stiffness that resists needle penetration, causing thread pull
Different panel cutting angles create slight fabric grain variations that distort stitches
For awashed cotton twill hard crown baseball cap custom logoorder, even a 1mm shift is visible to customers. This is especially problematic for small text or detailed logo designs.
Common Factory Cutting & Stitching Errors
Most misalignment issues start before embroidery even begins, during the cutting and pre-sewing stages.
Inaccurate panel cutting that leaves the center seam off by 0.5-1mm
Uneven buckram attachment that creates lumps under the embroidery area
Poor hooping technique that stretches fabric unevenly in the embroidery frame
A 2026 survey of 100 headwear factories found that 78% of embroidery defects trace back to pre-embroidery preparation errors, not the embroidery machine itself.
Pre-Embroidery Preparation Steps to Avoid Shift
Proper preparation is 80% of the battle for perfect embroidery on 6 panel hard front caps.
Panel Cutting & Seam Alignment Standards
Every factory should follow strict cutting and sewing standards to ensure the center seam is perfectly straight and centered.
Use laser cutting machines to cut panels with ±0.1mm accuracy
Mark the center seam line on both the fabric and buckram before sewing
Test seam alignment with a digital caliper on every 10th cap during production
For ahard front 6 panel cotton snapback baseball hat, the standard front panel size is 11cm wide, with the center seam exactly at the 5.5cm midpoint. Standard adult cap size is54-58cm, so panel proportions must scale correctly across sizes.
Proper Hooping & Stabilizer Selection
Hooping is the most critical step to prevent fabric shift during embroidery. Even a perfectly aligned seam will warp if the cap is hooped incorrectly.
Use a cap-specific hoop with a rubber grip to hold the hard front firmly
Apply 2 layers of cutaway stabilizer behind the embroidery area for structured caps
Hoop the cap with the center seam exactly aligned to the hoop’s center mark
For6 panel baseball cap custom logoorders, factories should test hooping tension on 3 sample caps before starting full production. This catches tension issues early, before hundreds of caps are ruined.
Stitching Techniques for Cross-Seam Embroidery
Once preparation is complete, the right stitching technique ensures the design stays perfectly aligned across the seam.
Stitch Direction & Density Adjustments
The direction and density of stitches directly affect how much the fabric pulls during embroidery.
Stitch across the seam (perpendicular) instead of along it to reduce pull
Lower stitch density by 10-15% directly over the seam area
Use a running stitch outline first to anchor the design before filling in
Forcustom structured 6 panel cap front 3d side flat embroidery, 3D puff embroidery requires extra care. The foam underlay can shift over seams, so always add a flat stitch base layer first to hold the foam in place.
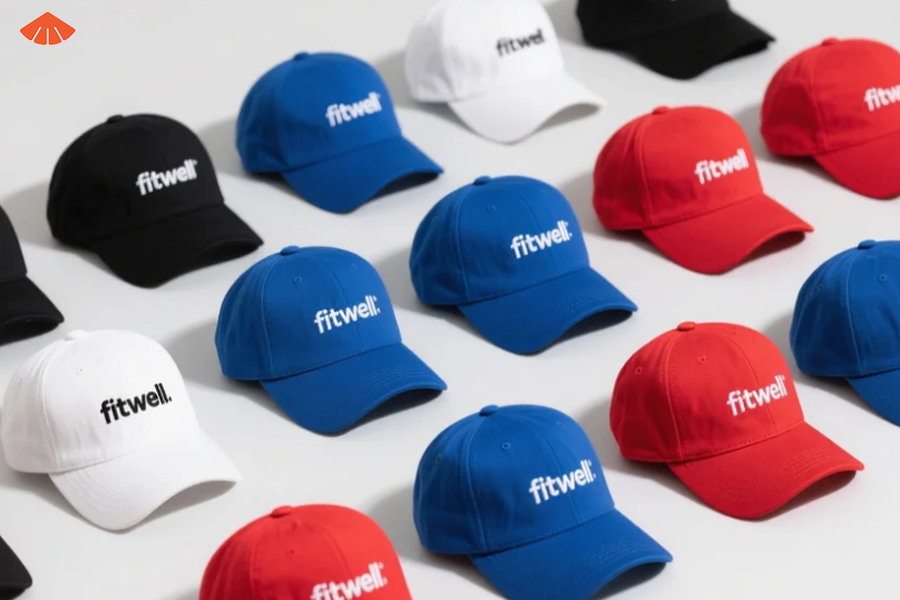
Machine Calibration for Hard Front Fabrics
Embroidery machines must be calibrated specifically for hard front cotton caps, as the thick buckram changes needle behavior.
Set needle speed to 600-700 SPM (stitches per minute) for hard front caps
Use a 75/11 sharp needle to penetrate buckram without tearing fabric
Adjust thread tension to 120-150g for cotton thread on structured caps
A headwear product development firm tested 10 common embroidery machines in 2026 and found that proper calibration reduced seam misalignment defects by 89%. This small adjustment saves factories thousands of dollars in rework costs.
Quality Control & Factory Audit Tips for Buyers
As a buyer, you don’t have to rely on factory promises—you can implement checks to ensure perfect embroidery every time.
Pre-Production Sample Verification Process
Always approve a physical sample before mass production starts, and check these key points.
Measure the center seam position with a ruler to confirm it’s perfectly centered
Hold the cap up to light to check for uneven stabilizer or buckram lumps
Test embroidery alignment by measuring the distance from the design edge to the seam on both sides
Forhard front baseball cap customorders, request a photo of the hooped cap next to a ruler before embroidery starts. This lets you confirm alignment before the design is stitched.
In-Production & Final Inspection Checks
Even with a good sample, you need to check production caps to ensure consistency.
Inspect 5% of caps during mid-production for alignment and stitch quality
Do a 100% final check of all caps before they leave the factory
Reject any cap with embroidery misalignment of more than 0.5mm
Custom logo&color options add extra variables, so always confirm color matching and logo placement on the first production run cap. Forcotton twill baseball cap customorders, also check for fabric shrinkage that could shift the seam after washing.
Hard top baseball cap custombrands that implement these inspection steps reduce their customer return rate by an average of 72%, according to 2026 B2B headwear industry data. For small business owners and freelancers, this means fewer customer complaints and higher profit margins.
By following these preparation, stitching, and quality control tips, you can eliminate embroidery misalignment on yourcustom baseball caps with logoorders. Whether you work with a single factory or multiple suppliers, these standards will ensure consistent, professional results every time.
Interested in custom cap solutions? Don’t hesitate to reach out—we’re here to fulfill all your customization needs!
Follow & Message Us:
Facebook:https://www.facebook.com/fitwell.li
Instagram: www.instagram.com/fitwellcustomhats.dds/
LinkedIn:http://www.linkedin.com/in/fitwellcustom-hats-38a2b9b0/
Pinterest: http://www.pinterest.com/FitwellCustomHatsdds/
YouTube: http://www.youtube.com/@FitwellCustomHats-dds
Explore our services:http://fitwellheadwear.en.alibaba.com
WhatsApp us now: https://psce.pw/86jwa3